A girl showing her face after popping pimples

Navigating the Healing Journey After Popping Pimples

What To Do After Popping Pimples: A Guide to Recovery
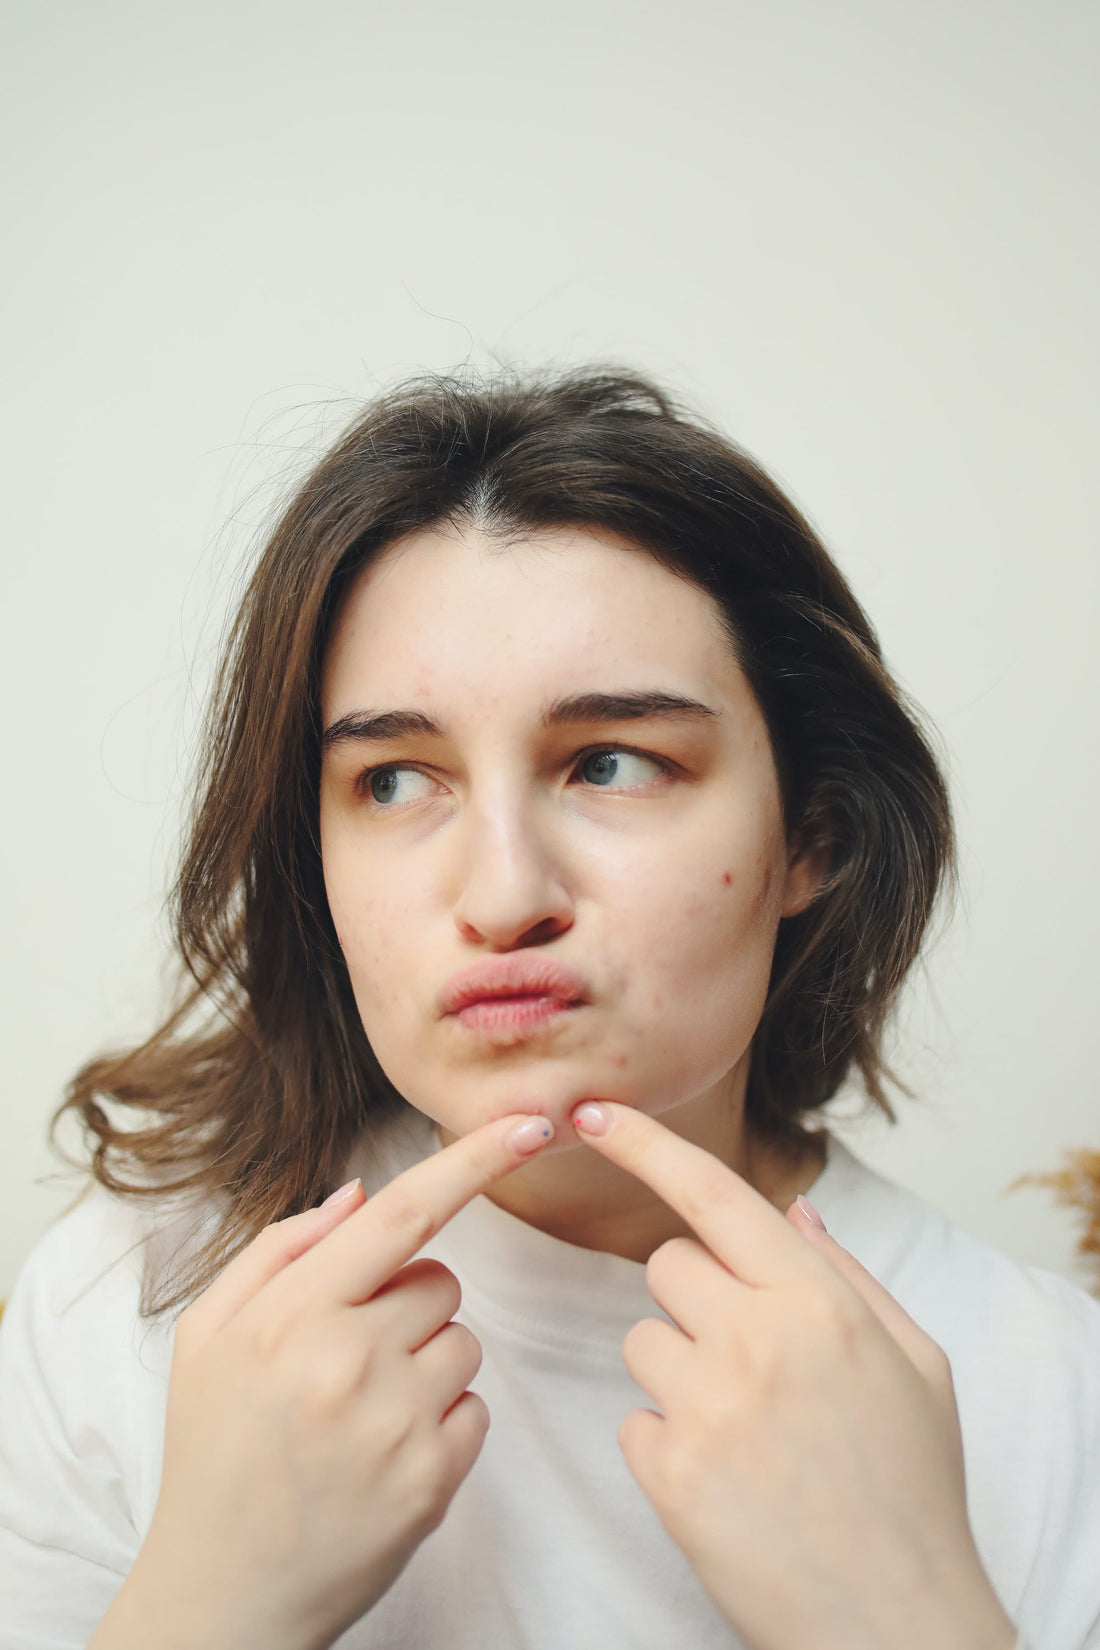
If you’ve ever succumbed to the urge and popped a pimple, you’re not alone. But once it’s popped, how you care for your skin can make or break your recovery. The first 24 hours after popping pimples are make-or-break—you’ll want to reduce risk of redness, infection, scarring, and new breakouts. This guide walks you step-by-step through a gentle, smart, and effective recovery routine—plus expert insight into how post-pop tools like Absorbzit pimple patches can fast-track healing.


1. Understand the Stakes: Why Care After Popping Pimples Matters

When you pop a pimple, you disrupt your skin’s protective barrier. You expose raw tissue, open a gateway for bacteria, and potentially damage collagen—all of which can lead to:

  • Prolonged redness and irritation

  • Scarring or pigmentation

  • Secondary breakouts

  • Bacterial infections or pustules

That’s why what you do after popping pimples is just as important as resisting the initial urge.


2. Step 1: Gentle Cleansing – The First Move

Why It Matters

Post-pop, your skin is tender and more exposed. A soft, soothing cleanse removes debris, pus, and oil without adding irritation.

How-To

  • Use a mild, fragrance-free cleanser—free from harsh surfactants or menthol.

  • Press—not rub: Apply with fingertips using gentle circular motions for ~30 seconds.

  • Rinse with lukewarm water, not hot, to avoid inflaming the wound.

Quick tip: Avoid exfoliants or scrubs for at least 48 hours. Scrubbing can reopen the wound and worsen inflammation.


3. Step 2: Hands-Off Policy – No Matter What

Why It Matters

Touching your freshly popped pimple introduces bacteria and delays healing. Avoid the temptation at all costs.

How-To

  • Use blotting paper or tissue to gently dab away any surface fluid—don’t touch with fingers.

  • Keep nails short and clean to reduce accidental contact.

  • If discomfort or itch strikes, dab a clean cotton pad soaked in calming toner (e.g., aloe-based) instead.


4. Step 3: Hydration & Healing Boost

Why It Matters

Your skin has lost moisture and structure. A light, calming hydrator helps soothe inflammation and supports repair.

How-To

  • Choose a non-comedogenic, lightweight moisturiser—look for ceramides or hyaluronic acid.

  • Apply a thin, even layer, focusing on the area around the pimple.

  • Avoid heavy creams or oils that can clog pores.


5. Step 4: Targeted Spot Treatment

Why It Matters

To accelerate healing and prevent fresh breakouts, a gentle spot treatment with proven actives is key.

How-To

  • Opt for formulas with salicylic acid (0.5–2%) or benzoyl peroxide (2.5–5%).

  • Apply only a tiny dot directly on the wound—any excess can irritate healthy skin.

  • Use it once or twice daily, but always remember to follow with hydration and SPF in the morning.

💡 Pro tip: If your skin is sensitive, alternate nights of spot treatment with soothing care to avoid over-drying.


6. Step 5: Patch It Up – Why Absorbzit Patches Shine

Introducing the game‑changing weapon in your post-pop arsenal: Absorbzit pimple patches. Here’s why they’re a must-have after popping pimples:

A. Physical Bacteria Barrier

Once applied, they shield the raw spot from dust, hands, and bacteria—like a protective glove.

B. Fluid & Pus Absorption

Hydrocolloid material absorbs excess fluid and impurities, flattening inflammation and accelerating healing.

C. Optimal Recovery Environment

Patches maintain moist, uncontaminated contact—ideal for skin regeneration.

How-To Use

  1. Ensure the area is clean and fully dry.

  2. Peel a clean Absorbzit patch and press it firmly around the edges of the popped area.

  3. Leave it on for 4-8 hours, or overnight.

  4. Replace as needed until the scar or pimple fades completely.


7. Step 6: When to Remove and Re‑Apply

Why It Matters

Knowing when to switch patches is crucial—too soon and you risk reopening the area; too late and the patch loses absorption efficiency.

How-To

  • Replace when opaque (patch turns whitish).

  • Remove gently from the edges inward—avoid scrubbing.

  • Clean the area with a soothing toner and reapply a fresh patch if the wound is still present.

  • Once fully flattened, transition to moisturiser + SPF.

Timing Tip: A 4–6 hour patch interval can help with persistent spots; overnight application is ideal for undisturbed healing.


8. Step 7: Support Healing Focused on Prevention

Even after the wound seems healed, your job isn’t done.

Nighttime Routine

  • Cleanse (mildly)

  • Optional: light exfoliating serum (like 1% mandelic acid) away from the wound

  • Moisturise with a ceramide-rich night cream

Daytime Routine

  • Cleanse

  • Gentle vitamin C antioxidant serum (avoid raw areas)

  • SPF 30+ to combat pigmentation and scarring

Weekly Add-ons

  • Cold compress before patch application to reduce swelling

  • Niacinamide serum post-healing to even tone and reinforce barrier


9. FAQ: Troubleshooting Common Post‑Pop Issues

Concern Quick Fix
Red, sunken wound Use a collagen-boost night serum – peptides or niacinamide
Whitehead from new breakout Cleanse + salicylic acid, then patch again
Itchy patch site Apply a clean toner-saturated cotton pad; consider a patch with calming tea tree
Dry, flaky surrounding skin Hydrate heavily on outside areas; avoid spot treatment on healthy skin

10. Healing Timeline: What to Expect After Popping Pimples

  • 0–12 hrs: Tender, slight weeping possible. Patch absorption kicks in.

  • 12–24 hrs: Redness subsides; fluid lessens. Keep patch if still visible.

  • 24–48 hrs: Spot begins flattening. Consider switching to hydrating + SPF.

  • 48–72 hrs: Red mark fades; new skin restores. Introduce fade serum.

  • Day 4+: Return to full routine—cleansing, exfoliation, treatment, barrier support, and sun protection.


11. Why This Routine Works: Smart Care After Popping Pimples

  • Cleansing removes infection risk without stripping.

  • Hands-off keeps contaminants away.

  • Hydration and spot treatments reduce inflammation and prepare skin for recovery.

  • Patch care promotes faster, cleaner healing.

  • Barrier maintenance + SPF prevents pigmentation and scarring.


12. Real‑Life Case Study

Sarah:

“I popped a big white zit before a date—used gentle salicylic + foam cleanser + patched overnight, next day it was flat. No redness, no scar. Game changer.”


13. Pro Tips for Future Pop-Avoidance

  • Keep Absorbzit patches on hand as preventive backup.

  • Use exfoliating toners (like mandelic or lactic acid) to keep pores clear.

  • Sleep on a clean silk pillowcase to reduce friction and bacteria.

  • Keep nails well-trimmed and disinfected to minimise accidental popping.


Conclusion

What you do after popping pimples isn’t just patchwork—it’s a recovery art. By deploying mild cleansing, barrier protection, hydration, spot treatment, and strategic patch use (yes, Absorbzit is your post-pop hero), you can defuse breakouts faster, minimise downtime, and prevent lasting scars. Stay consistent, protect your skin, and give your healing process the attention it deserves.

Back to blog